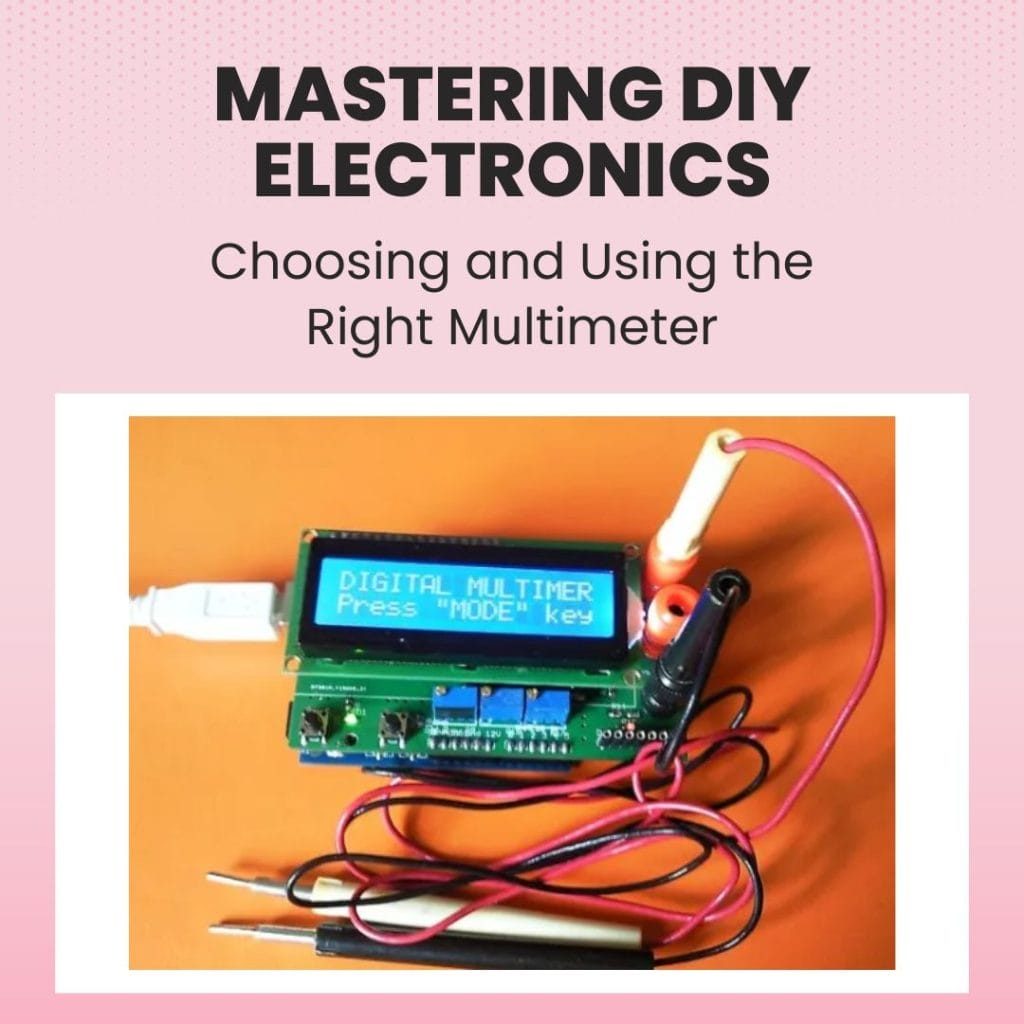
Troubleshooting Common Electrical Issues with a Multimeter
A multimeter is a vital tool for any electrical troubleshooting endeavor. This versatile device combines several measurement functions into one unit, including the ability to measure voltage, current, and resistance. It can be utilized in various environments, from an industrial setting to household DIY projects. Multimeters come in two variants: analog, which uses a needle to display measurements, and digital, which displays readings on an LCD screen. Using a multimeter effectively can greatly assist in identifying and solving common electrical issues.
Understanding Electrical Issues
Electrical problems can arise in various situations, from malfunctioning appliances to faulty wiring. These issues can be dangerous and should be resolved as soon as possible. Before using a multimeter to troubleshoot an electrical problem, it is essential to have a basic understanding of how electricity works and the components involved. This knowledge will help accurately diagnose the issue and take appropriate safety measures.
Voltage, Current, and Resistance
Voltage, current, and resistance are the three fundamental electrical properties that multimeters measure. Voltage is the force or pressure of electricity flowing through a circuit. It is measured in volts (V) and can be either AC (alternating current) or DC (direct current). Current is the flow rate of electrons through a circuit and is measured in amperes (A). Resistance is the opposition to current flow measured in ohms (Ω). These three properties are interrelated, with Ohm’s law stating that voltage equals current multiplied by resistance (V = IR).
Identifying Common Electrical Problems
Now that we have a basic understanding of electricity and the properties measured by a multimeter, let’s look at some common electrical problems that can be identified and resolved with the help of a multimeter.
Dead Outlets or Circuits
If an outlet or entire circuit in your home is not functioning, it could be due to several reasons. The first step would be to check the circuit breaker or fuse box to ensure the outlet receives power. If the breaker is not tripped, you can use a multimeter to check for voltage at the outlet. Set your multimeter to AC voltage mode and insert one probe into each slot in the outlet. If no voltage is detected, it could indicate a bad connection or a faulty outlet. In this case, it is best to call a licensed electrician.
Flickering Lights
Loose connections, bad wiring, or a faulty light fixture can cause flickering lights. To troubleshoot this issue with a multimeter, set it to AC voltage mode and insert one probe into the hot wire connection of the light fixture and the other probe into the neutral wire connection. If the reading is inconsistent, it could indicate a loose connection that needs to be tightened or a faulty fixture that needs replacing.
Continuity Issues
Continuity refers to an unbroken path for electricity to flow through a circuit. A break in continuity can cause appliances or circuits to stop working. To check for continuity, set your multimeter to the continuity mode and touch one probe to each end of a wire or component. If the multimeter beeps, it indicates continuity; if it doesn’t, there is a break in the circuit.
Using a Multimeter for Troubleshooting: Step-by-Step Guide
Now that we have discussed some common electrical problems, let’s take a step-by-step guide on using a multimeter to troubleshoot these issues.
- Conduct a visual inspection: Before using the multimeter, inspect any visible wiring or components for signs of damage or wear.
- Check power source: Make sure your outlet is receiving power by checking the circuit breaker or fuse box.
- Set up a multimeter: Depending on the type of measurement you need to make, select the appropriate mode on your multimeter and insert the probes into the corresponding ports.
- Test voltage: To test for voltage, touch one probe to a hot wire or terminal and another to a ground or neutral connection. If there is no voltage reading, it could indicate a faulty connection or component.
- Continuity test: To test for continuity, set your multimeter to the continuity mode and touch one probe to each end of a wire or component. If there is no beep, it indicates a break in the circuit.
- Check resistance: To check for resistance, set your multimeter to the resistance mode and touch one probe to each end of a wire or component. A high reading could indicate a faulty component.
- Replace or repair: Based on the readings from your multimeter, you can determine if a component needs to be replaced or if there is an issue with the wiring that needs to be repaired.
Always take appropriate safety precautions when using a multimeter, such as wearing protective gear and working on de-energized circuits. If you are unsure or uncomfortable with using a multimeter, it is best to call a licensed electrician for assistance. With the help of a multimeter and some basic knowledge of electricity, you can troubleshoot and solve common electrical issues effectively and safely.
Conclusion: The Importance of Troubleshooting Skills in Electrical Work
In today’s world, where electricity is a fundamental part of our daily lives, having basic troubleshooting skills can be incredibly beneficial. It saves time and money by allowing you to diagnose and solve electrical problems on your own, and it also ensures your safety and that of those around you. Knowing how to use a multimeter effectively is essential for any DIY enthusiast or electrician. By understanding the fundamentals of electricity and following proper safety measures, you can confidently troubleshoot common electrical issues and keep your home safe. So, it is essential to continue learning and honing your troubleshooting skills to become a better DIYer or electrician. With practice and experience, you can become an expert in using a multimeter and troubleshooting various electrical problems. So, go ahead and put your knowledge to the test! Happy troubleshooting!

